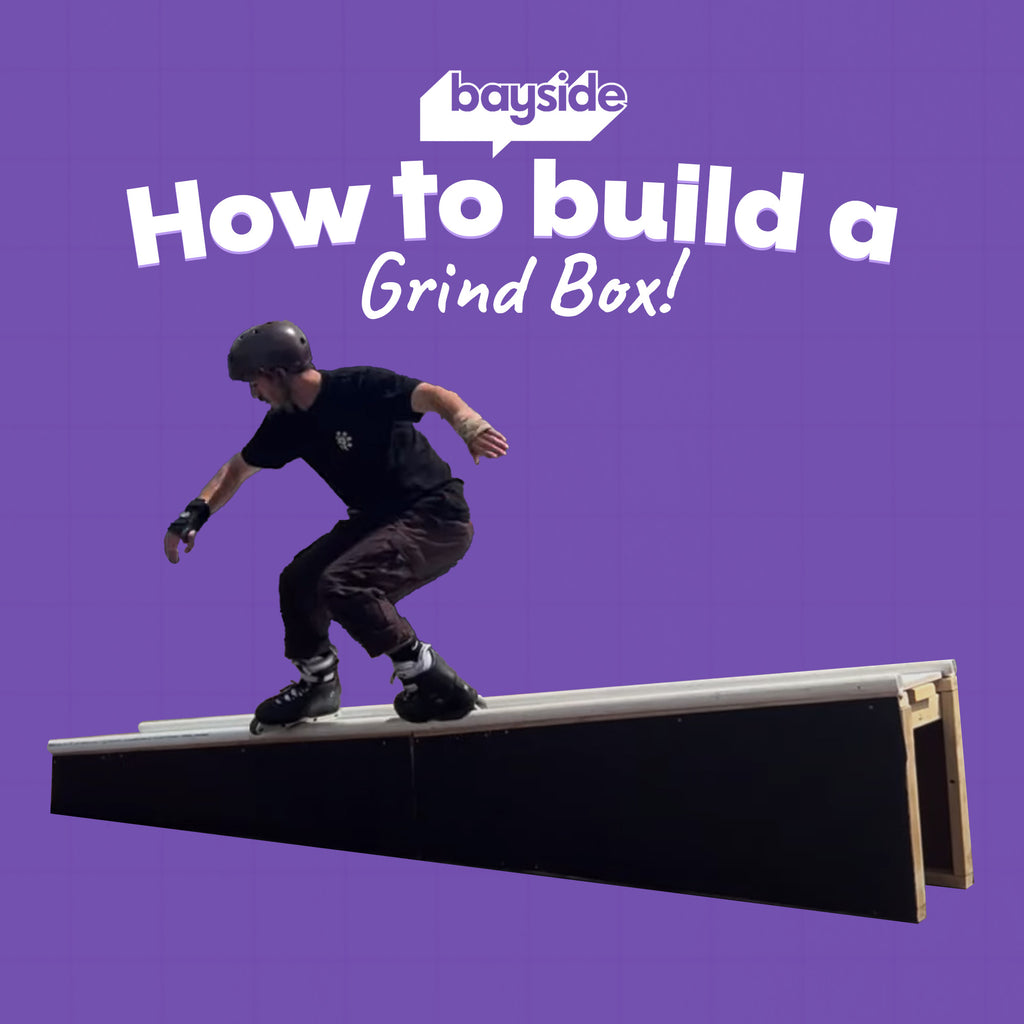
How to build a Skate Grind Box!

How to build a skate grind box for rollerblading, roller-skating or skateboarding all with minimal tools at home. You have two options for skate builds below!
- Watch the video for a down box that has the coping on an angle like a down rail.
- Follow the written instructions below for a low height grind box that is great for beginners!
If you have ever wanted to practice your skating at home or don't have any good spots near by you an always build yourself a skate box it's super easy!
Skate box, grind box or coping box the same obstacle by many names is a great way to learn practice and refine skills. You can make them as easy or as hard as you want by building them taller to practice jumping or shorter to focus on the trick itself!
The great thing about coping box's is that they can be used almost anywhere, your backyard, out the front of your house, on the grass for a soft landing or take it to your favorite under cover spot when its raining.
As always when skating we recommend wearing protective gear such as Knee pads, wrist guards and helmets! This ensures you can learn new ticks safely and not injure yourself which will force more time off from skating.
If you have built the box and have found that it is not sliding very well you can always make it go faster by waxing the coping (PVC Pipe) with skate wax or even a candle!
The guide here is a suggestion on sizing to make it as easy as possible to construct. You can always modify the dimensions of the grind box to make it longer taller wider or even replace the PVC piping with a steel angle edge to create a flat ledge.
As with using any tools any minors should be supervised and you should have appropriate skill and safety gear to safely to operate the tool
Box Final Dimensions
50cm Wide x 150cm Long x 275mm High
Tools
- Hand saw or Hack Saw
- Screwdriver or impact Driver
- Drill
- Set of Drill Bits
- Hammer if using Nails
Materials
- 3x - 70x35 3m lengths of framing wood cut to:
- 4 x 1500mm (Length of Box)
- 4 x 500mm (Width of Box)
- 6 x 165mm (Height of Box - Increase to make Box taller)
- 1x - Box of Nails or wood screws longer than 50mm
- 6m - 40mm Diameter PVC Piping Cut to
- 4x 1.5m lengths
- 1x 450mm x 1500mm x 12mm (Top Board)
- 2x 1500mm x 235mm x 12mm (Optional Side Board)
Process
- Upon purchasing your materials you can either get Bunnings to cut all of your wood into the appropriate lengths and shapes or cut them yourself when you get home.
- Assemble the two sides of the box by screwing or nailing the ‘a’ long lengths and ‘b’ short lengths of framing timber together to form a rectangle with one of ‘b’ short sides in the centre to provide further support. Note: If using screws, pre-drill your screw holes to avoid splitting the timber. To get screws flush with wood using the counter sink method as seen in the video.
- Connect the two sides of the box with the ‘c’ middle lengths of wood to form the box. Connect them at the inside corners of the box.
- Pre-drill 3 equidistant mounting holes in 2 of the lengths of the pvc piping to allow you to mount it to the box.
- Attach the plywood to the top and sides making sure to centre it allowing for enough room for the PVC Piping.
- Carefully screw down the PVC piping to the top of the box on either edge, this is your coping.
- Cut a 2cm strip along the length of your 2 spare lengths of PVC Pipe, this will allow it to clip over the top of the coping attached to your box. This will make the PVC strong enough to skate without cracking.
- Clip the top PVC pipe onto the mounted PVC pipe
- Now Go Skating!!!!

